Color Sand a Car
Color sanding a car is a process of removing the clear coat of paint to level out the surface and remove imperfections. Wet sanding may be able to remove some imperfections that compounding cannot, such as orange peel, minor oxidation, and harsher scratches. It’s a labor-intensive process that requires a high level of skill and attention to detail, but the results can be spectacular.
Here are the steps to color sand a car:
1. Clean the surface
The first step is to thoroughly clean the surface of the car to remove any dirt, dust, or debris. This will ensure that the sanding process is as effective as possible.
2. Choose your sanding process
Based on personal preference choose to dry sand for the first stages and save wet sanding for the final stage, or wet sand through all stages. Sanding takes at least 2 stages, though often more. Each stage uses a progressively finer grit sandpaper in order to refine the previous stage’s marring marks. It is at your discretion to determine which grit and how many refinement stages are needed for the project.
3. Sand the surface
By hand with a foam block or by Dual Action Polisher with an interface pad, starting with the coarsest grit sandpaper, begin sanding panel by panel. Even pressure and movement help eliminate uneven clear coat sanding. After each panel is complete, move on to the next finest grit to remove the previous pass’s sanding marks.
4. Wet sand the surface
The final stage, with the finest grit sandpaper, is ideal to do by hand with a foam block and wet. Wet sanding is done by using a spray bottle or bucket to keep the car surface and sanding block wet while sanding. This helps maximize the reduction of marring marks from the sandpaper in order to leave the smoothest surface possible. Move the block in straight lines, not in a circular motion, to prevent creating swirling imperfections.
5. Buff the surface
Once the surface is smooth and free of imperfections, it’s time to buff the surface. Even though the wet pass helped reduce marring in the final sanding stage, there will still be minor marring. Using a cutting pad with compound is done to remove any of these fine scratches, most often by Rotary or Dual Action Polisher.
6. Polish the surface
Once the surface is smoothed out to its finest, it will still have a dull appearance. Polishing is necessary to create a high-gloss finish. The most common pairing to achieve this is by using a polish with a polishing pad, often foam and by machine.
7. Apply paint protection
After polishing it’s important to apply a protective coating to protect the paint and enhance the shine. This step is important to protect your hard work and make the surface last longer. There are many options out there for paint protection such as, wax, sealant, and ceramic coating.
Conclusion
Color sanding a car is a time-consuming and demanding process, but the results can be remarkable. The most aggressive process of clear coat leveling, color sanding has the ability to remove more severe imperfections where other paint correction processes cannot, such as minor oxidation, harsher scratches, and orange peel. It’s important to pay close attention to detail and to use high-quality sandpaper and buffing pads to achieve the best results.
MaxShine’s line of sandpaper has been tested and approved for durability and function during wet and dry sanding. And the variety of pad types and materials make it a one stop shop for all color sanding needs. Additionally, it’s important to understand the type of paint on your car and to use the appropriate products, process, and techniques.


Dual Action Polisher For Car Detailing | M8S V2 – 5in Plate, 8mm Throw, 1000W |
Low Pressure Foam Cannon Wash Bundle

MaxShine Grab and Go Car Care Kits
$38.48 – $67.87
Polishing Kit | 1-Step and 2-Step Paint Correction Kits |
$58.05 – $72.54

 Dual Action Polisher
 Rotary
 Cordless Polisher
 Car Polisher Accessories
 Wall & Wheel
 Detailing Brush Holders Compound Holders
 Dollies
 Cart & Stool
 Detailing bags
 Accessories
 Pad Kits
 Foam Pads
 High Pro
 Medium Pro
 Low Pro
 Flat
Flat Cross Cut
 Wool Pads
 Microfiber Pads
 Orange Peel
 Sand paper
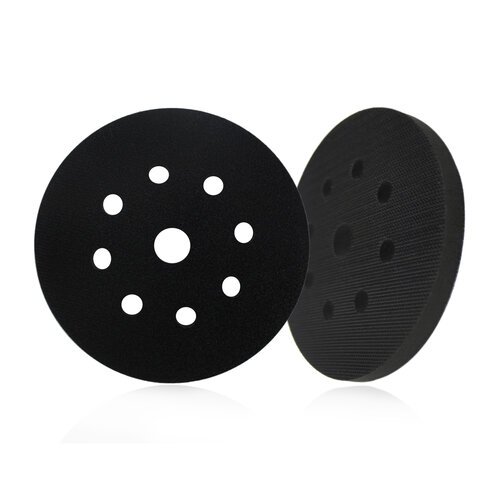 Foam Interface
 Rotary backing
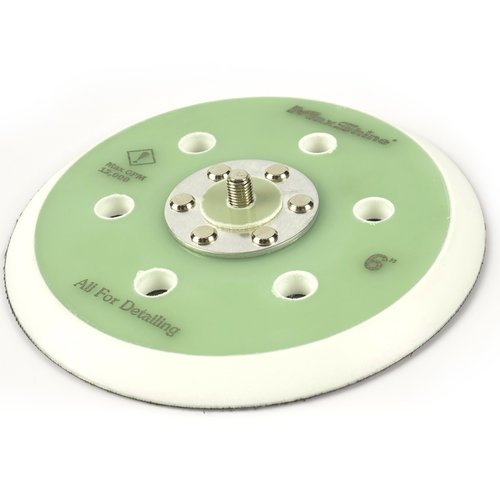 Dual action backing
 Car Exterior Cleaning Chemicals
 Wheel and Tire Cleaners
 Car Interior Care Chemical
 Paint Correction & Enhancement Chemicals / Compounds
 Paint Protection Chemicals
 Subscription
 Glass
Glass Polish Removal & Coating Leveling
 Coating Buffing & Rinseless Wash
 General Purpose
 Utility
 Suede
Suede Crazy Microfiber
 Mitts
Mitts Pads
Pads Gloves
 Microfiber
 Chenille
 Wool
Wool
 Interior
 Exterior
 Carpet
 Pet Hair
 Detail
 Clay Mitts
 Clay pads
 Clay towels & sponges
 Ceramic
 Tire
Tire
 Kits
Kits








 Engine